
passport and visas
Study Abroad Visa Guide: What You Need to Know
Study Abroad Visa Guide: What You Need to Know
- By Marina
- February 3, 2025
If you’re planning to study abroad with GlobalEd Abroad, you might need a student visa depending on your destination, program length and citizenship. We know the process can feel overwhelming, which is why we’ve created this comprehensive, self-sufficient guide to help you navigate the visa process from start to finish. We strongly encourage you to consult directly with the appropriate consulate to ensure you have the most accurate and up-to-date information.
This guide will show you how to:
Determine if you need a visa
- Find the right consulate
- Understand basic visa requirements
- Prepare for your appointment
Let’s get started!

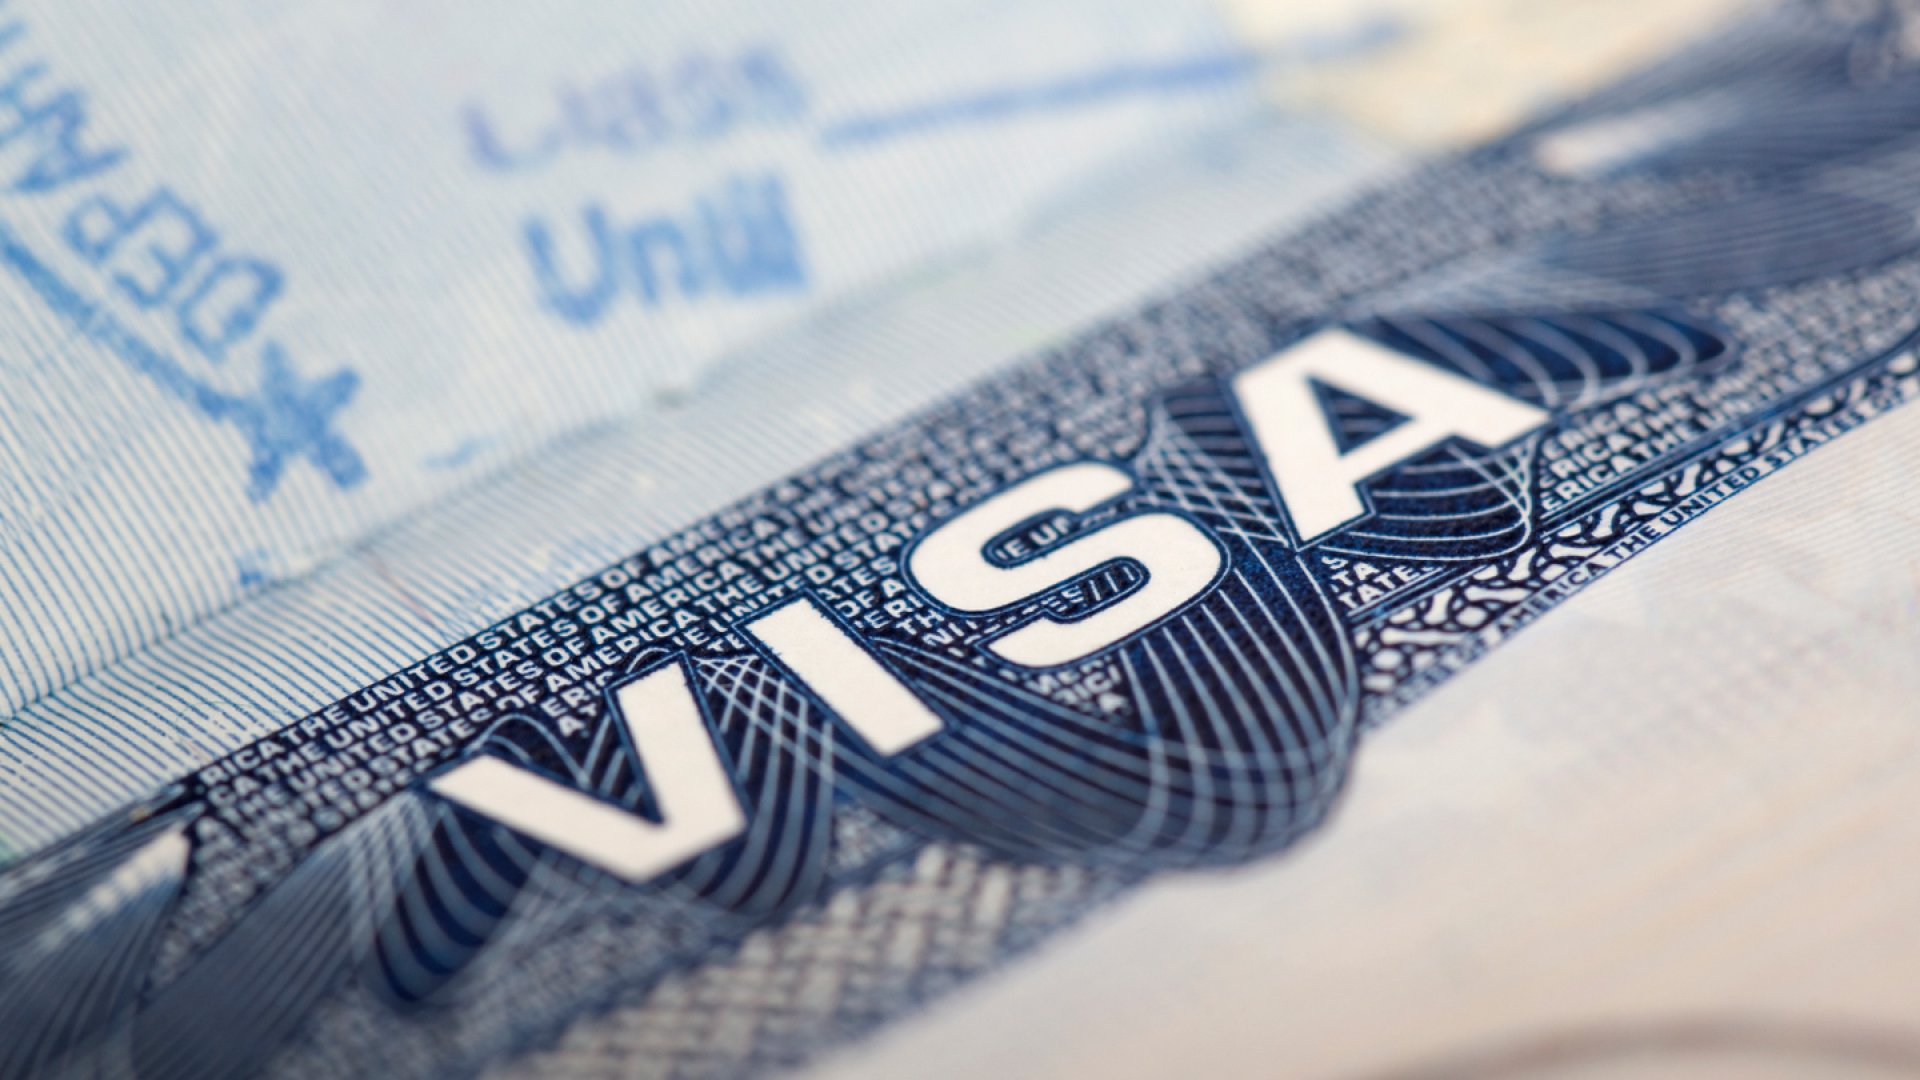
Step 1: Do You Need a Visa?
You’ll most likely need a student visa if you’re studying abroad for more than 90 days in Spain, France, Italy, or Argentina.
If your program is 90 days or less, check your destination country’s rules— the majority of short-term programs may not require a visa BUT for the European / Schengen Area you will need an ETIAS.
-
Step 2: Do You Need to Apply for ETIAS? (Europe Only)
-
If you’re traveling to Europe for your study abroad program, you may need to apply for an ETIAS (European Travel Information and Authorization System) instead of a traditional visa. ETIAS is an entry requirement for visa-exempt travelers, allowing you to visit the Schengen Area countries for up to 90 days within a 180-day period.
If your trip is less than 90 days, starting mid-2025, you will be required to apply for an ETIAS. ETIAS allows you to travel to Schengen Area countries for up to 90 days within a 180-day period.
-
However, keep in mind that ETIAS is only valid for short-term visits, such as tourism, business, or study programs that are less than 90 days in duration. If your program exceeds 90 days, you will need to apply for a student visa.
-
To check if you’re eligible for ETIAS and to apply, visit the official European Union ETIAS website here:
https://travel-europe.europa.eu/etias/what-etias_en -
Make sure to apply for ETIAS at least 96 hours (3 days) before your departure to ensure smooth travel.
Step 3: Find Your Nearest Consulate
You must apply for your visa at the consulate that has jurisdiction over your state or region. This is where you’ll submit your documents and possibly attend an in-person appointment.
Use the links below to find the consulate responsible for your area:
- Spain: https://www.exteriores.gob.es/es/EmbajadasConsulados/Paginas/index.aspx
- France: https://franceintheus.org/spip.php?article330
- Italy: https://ambwashingtondc.esteri.it/en/chi-siamo/la-rete-consolare/
- Argentina: https://eeeuu.cancilleria.gob.ar/en/consulates-us
Important: You must apply through the consulate assigned to your permanent address (not your university address, unless specified).
Step 4: Check the Consulate’s Requirements
Every consulate has slightly different rules. Even consulates from the same country can have unique procedures. Once you’ve identified your consulate:
- Visit their official website.
- Locate the “Student Visa” section.
- Review the specific requirements for your program country.
Look for:
- Application forms (download directly from the consulate’s website)
- Appointment booking systems
- Processing times
- Payment instructions (some consulates only accept money orders)
Step 5: Book Your Appointment Early
- Appointments fill up quickly, especially in the months before study abroad programs begin.
- Some consulates require appointments 2–3 months in advance.
- If in-person appointments are required, you must attend the appointment in person at the assigned consulate.
Step 6: Gather Your Documents
While exact requirements vary by consulate and country, here’s a general list of documents you’ll likely need:
- Passport (valid at least 6 months beyond your program end date)
- Visa application form (from your consulate’s website)
- Passport-sized photos (follow size guidelines provided by the consulate)
- Proof of acceptance into your study abroad program (provided by GlobalEd Abroad)
- Proof of housing (confirmation from your accommodation provider)
- Admission letter from the university or institution where you will study
- Proof of financial means (bank statements, scholarship letters, etc.)
- Health insurance coverage (specific to your host country’s requirements)
- Visa application fee (method of payment varies by consulate)
Pro Tip: Requirements can change from year to year, so always rely on your consulate’s website for the latest details.
Step 7: After Submitting Your Application
- Track your application status if your consulate offers this service.
- Processing times vary, so apply as early as possible to avoid delays.
- Once approved, double-check your visa to ensure all information is accurate before traveling.

Final Reminders
- Start early. Visa appointments and processing times can take longer than expected.
- Double-check everything. Requirements can change without notice.
- Use the consulate’s website as your primary source for the most current information.
You’ve got this! Just follow the steps, stay organized, and you’ll be ready for your study abroad adventure in no time.